
0
Owner's of the Onkyo Stereo Receiver TX-NR3008 gave it a score of 0 out of 5. Here's how the scores stacked up:

71
En
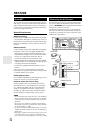
To receive Internet radio, you must connect the AV
receiver to a network with Internet access (➔ 70).
You can select Internet radio stations by connecting to the
AV receiver from your computer and selecting stations in
your Web browser. Preset up to 40 Internet radio stations.
Internet radio URLs in the following formats are sup-
ported: PLS, M3U, and podcast (RSS). However, depend-
ing on the type of data or audio format used by the Internet
radio station, you may not be able to listen to some sta-
tions.
Note
• If you’re using a narrowband Internet connection (e.g., 56K
modem or ISDN), depending on the station, Internet radio may
not work satisfactorily. For best results, use a broadband connec-
tion (e.g., cable modem, xDSL modem, etc).
Listening to vTuner Internet Radio
This unit includes the full vTuner Internet Radio Service
at no additional charge. Once you have connected your
unit to the Internet you can select vTuner Internet Radio to
search for and play Internet radio stations and podcasts at
any time. To enhance your Internet radio experience, the
http://onkyo.vtuner.com/ portal is available to you as an
easy way to browse to find stations, set up/organize your
favorites, add your own stations, get help, etc. After the
first time you try Internet radio/vTuner on your unit you
can use the MAC Address of your unit to create a member
login account (email address and password) on the
http://onkyo.vtuner.com/ portal. To verify your MAC
Address, please see “Network Settings” (➔ 76).
Listening to Other Internet Radio
To listen to other internet radio stations, insert the follow-
ing step after step 1 in the “Listening to vTuner Internet
Radio”.
Listening to Internet Radio
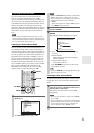
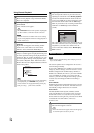
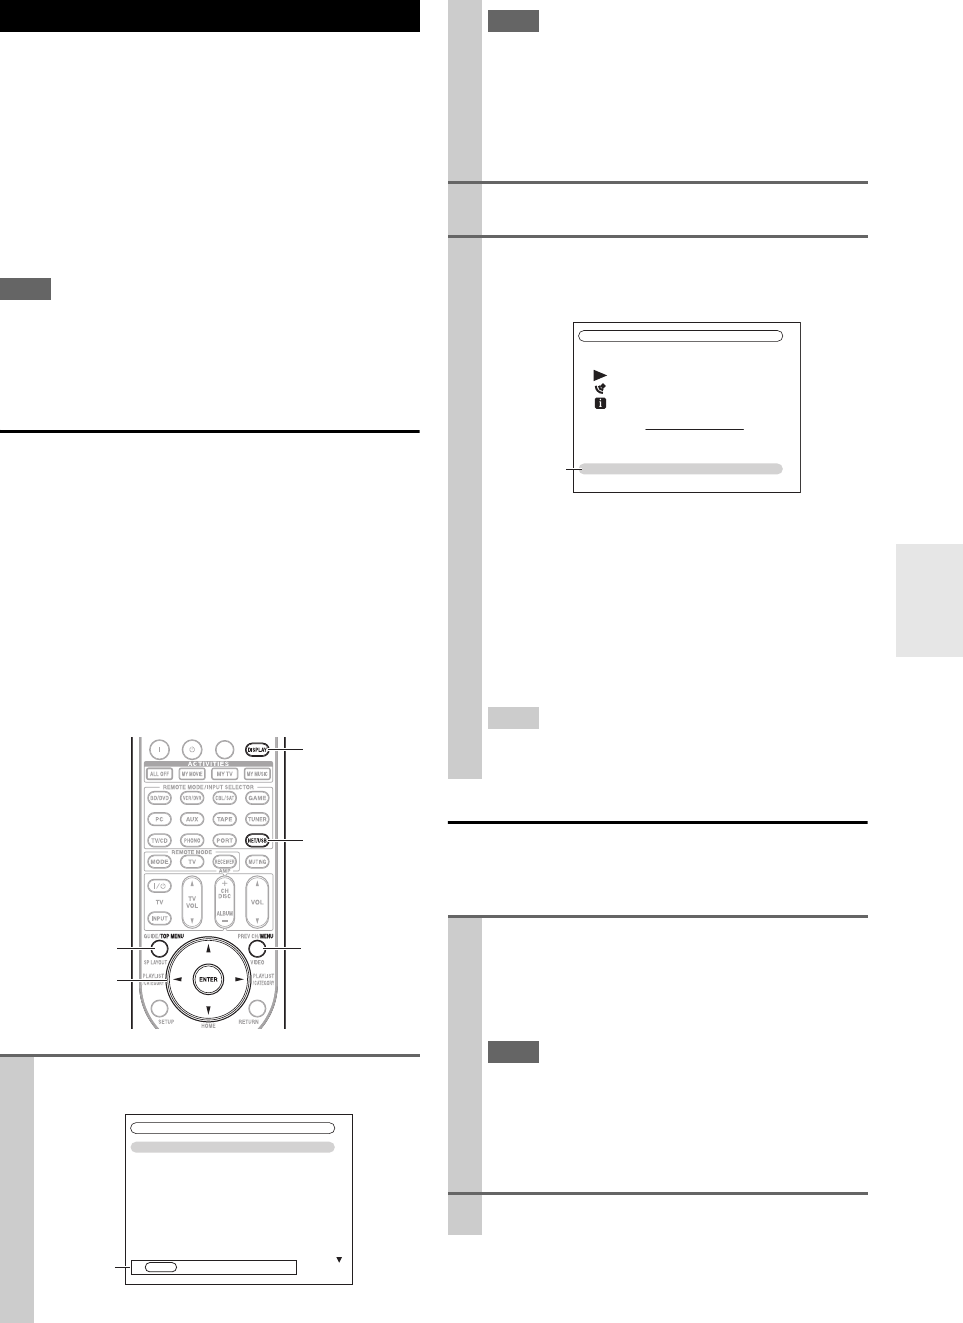
1
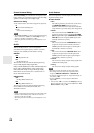
Press NET/USB repeatedly to select the Internet
Radio screen.
The NETWORK indicator lights (➔ 9).
NET/USB
MENU
ENTER
DISPLAY
TOP MENU
Internet Radio
1. vTuner Internet Radio
2. Pandora Internet Radio
3. Rhapsody
4. SIRIUS Internet Radio
5. Slacker Personal Radio
6. Mediafly
7. Napster
8. ---
9. ---
10. ---
*1
Go to Menu
MENU
Note
•When the NETWORK indicator flashes, confirm that the
Ethernet cable is firmly connected to the AV receiver.
• Services available may vary depending on the region. See
the separate instructions for more information.
*1
MENU:
When menu operations are enabled, “MENU” appears.
Press MENU to display the menu.
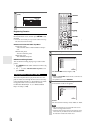
2
Use / to select “1. vTuner Internet Radio”, and
then press ENTER.
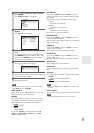
3
Use / to select a program, and then press
ENTER.
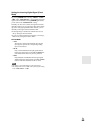
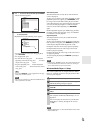
Playback starts and the following screen appears.
*2
Press MENU to allow selection from the following
menu items.
`Stations like this:
Stations like the one currently being played
back are displayed.
`Add this station to preset:
Add a station to the list.
Press TOP MENU to go to the top menu of the
Internet Radio services.
Tip
• If you press DISPLAY, you can toggle between the play-
back screen and the list screen.
1
On your computer, start your Web browser and
enter the AV receiver’s IP address in the browser’s
Internet address (URL) field.
The browser connects to the AV receiver (WEB
Setup Menu).
Note
• The AV receiver’s IP address is shown on the “Network”
screen (➔ 76).
• If you’re using DHCP, your router may not always allocate
the same IP address to the AV receiver, so if you find that
you can’t connect to the AV receiver, recheck the AV
receiver’s IP address on the “Network” screen.
2
Click on the “Preset Internet Radio” tab.
0:00:00
WMA 128kbps 16bit/44.1kHz
1. fm indie 104
The internet’s best source for i
- - -
All Stations
Go to Menu
*2


Find Your Products By Category
Please Login
