
0
Owner's of the Onkyo Stereo Receiver TX-NR3008 gave it a score of 0 out of 5. Here's how the scores stacked up:


83
En
Note
• This procedure can also be performed on the AV receiver by
using SETUP, arrows, and ENTER.
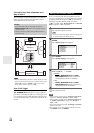
■ Zone 2 Out, Zone 3 Out
`Fixed
:
The Zone 2/3 volume must be set on the amp in that
zone.
`Variable:
The Zone 2/3 volume can be set on the AV receiver.
If you’ve connected your Zone 2/3 speakers to an amp
with no volume control, set the “Zone 2 Out” and
“Zone 3 Out” setting, respectively, to “Variable” so that
you can set the volume, balance, and tone of Zone 2/3 on
the AV receiver.
■ Zone 2 Maximum Volume,
Zone 3 Maximum Volume
`Off
, 50 to 99 (Absolute display)
`Off
, –32dB to +17dB (Relative display)
With this setting, you can limit the maximum volume for
Zone 2/3.
■ Zone 2 Power On Volume,
Zone 3 Power On Volume
`Last
, Min, 1 to 99 or Max (Absolute display)
`Last
, – dB, –81dB to +18dB (Relative display)
This setting determines what the volume will be for
Zone 2/3 each time the AV receiver is turned on.
To use the same volume level as when the AV receiver was
last turned off, select “Last”.
The “Zone 2 Power On Volume” and “Zone 3 Power On
Vol ume ” cannot be set higher than the “Zone 2 Maxi-
mum Volume” and “Zone 3 Maximum Volume” setting.
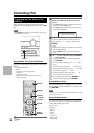
This section explains how to turn Zone 2/3 on and off,
how to select an input source for Zone 2/3, and how to
adjust the volume for Zone 2/3.
Controlling Zone 2/3 from the AV receiver
Note
• When Zone 2/3 is turned off, the output from the ZONE 2/3
12V TRIGGER OUT goes low (0 volts).
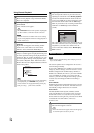
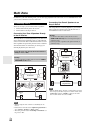
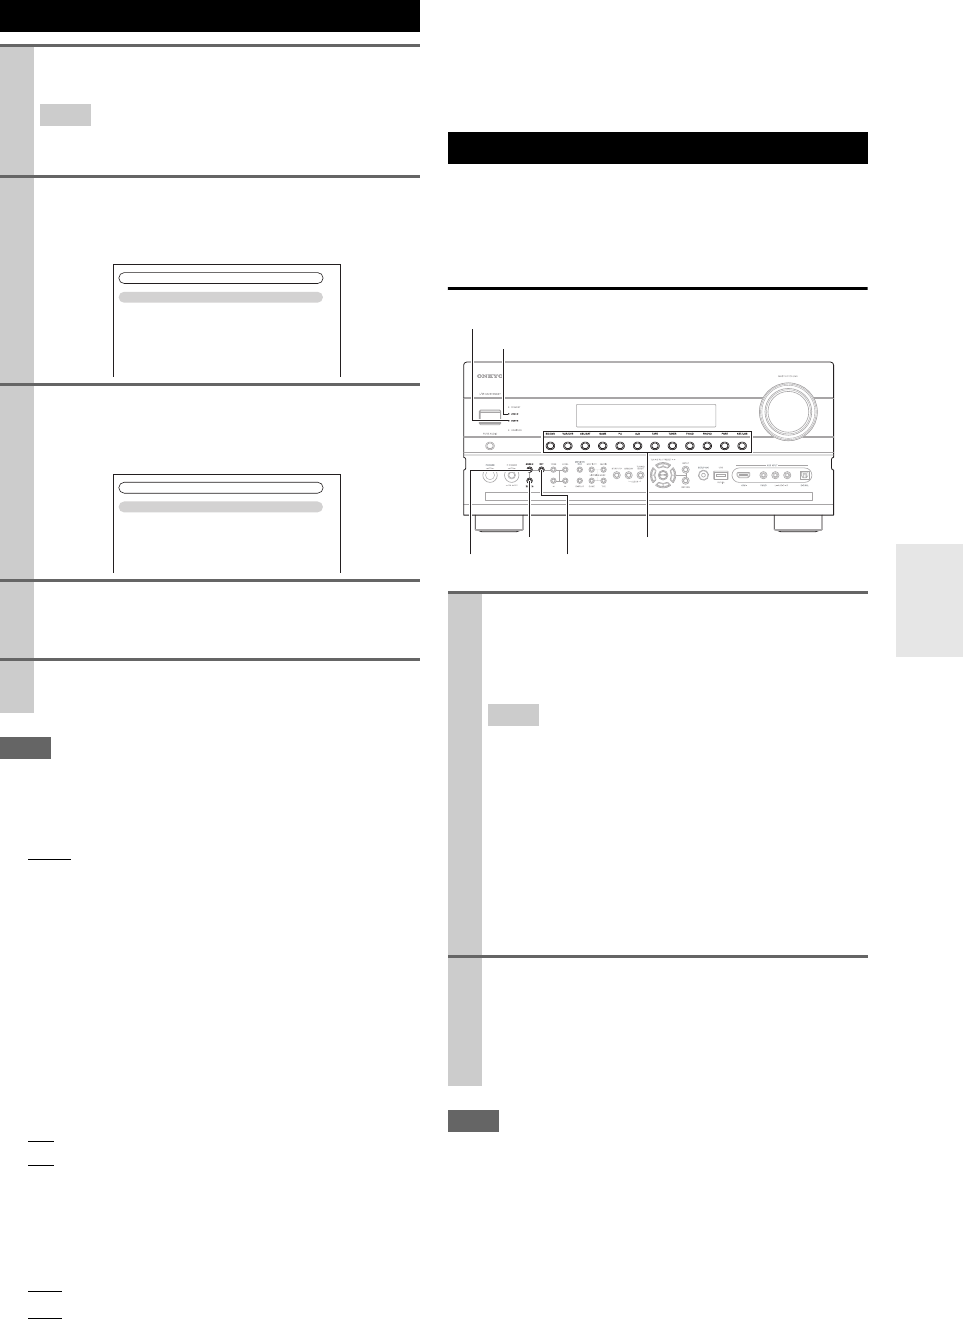
Setting the Multi Zone
1
Press RECEIVER followed by SETUP.
The main menu appears onscreen.
Tip
• If the main menu doesn’t appear, make sure the appropri-
ate external input is selected on your TV.
2
Use / to select “Hardware Setup”, and then
press ENTER.
The “Hardware Setup” menu appears.
3
Use / to select “Multi Zone”, and then press
ENTER.
The “Multi Zone” menu appears.
4
Use / to select an item, and use / to change
it.
The items are explained below.
5
Press SETUP.
The setup menu closes.
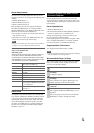
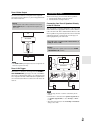
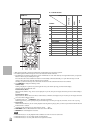
7. Hardware Setup
1. Remote ID
2. Multi Zone
3. Tuner
4. HDMI
5. Auto Power Down
6. Network
7. Firmware Update
7-2. Multi Zone
Zone 2 Out
Zone 2 Maximum Volume
Zone 2 Power On Volume
Zone 3 Out
Zone 3 Maximum Volume
Zone 3 Power On Volume
Fixed
Off
Last
Fixed
Off
Last
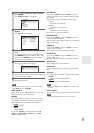
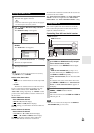
Using Zone 2/3
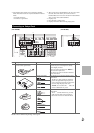
1
To turn on Zone 2/3 and select an input source,
press ZONE 2 or ZONE 3 followed by an input
selector button within 8 seconds.
Zone 2/3 turns on, the ZONE 2/3 indicator lights.
Tip
• ZONE 2/3 12V TRIGGER OUT goes high (+12 V).
To select AM or FM, press TUNER input selector
and ZONE 2 or ZONE 3 repeatedly.
(North American models) You can also select SIR-
IUS.
To select the same source as that of the main room,
press ZONE 2 or ZONE 3 twice. “Zone 2 Selector:
Source” or “Zone 3 Selector: Source” appears on
the display.
2
To turn off Zone 2/3, press ZONE 2 or ZONE 3.
ZONE 2 or ZONE 3 indicator flashes.
Press OFF.
The zone is turned off, and the ZONE 2 or ZONE 3
indicator goes off.
ZONE 3
ZONE 2
OFF
ZONE 2 indicator
ZONE 3 indicator
Input selector buttons


Find Your Products By Category
Please Login
