

0
Owner's of the Onkyo Stereo Amplifier Onkyo Stereo Amplifier gave it a score of 0 out of 5. Here's how the scores stacked up:

35
En
Advanced Operations
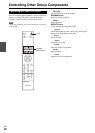
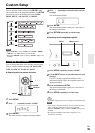
Custom Setup
You can perform custom settings using SETUP on the
remote controller or the integrated amplifier. The SETUP
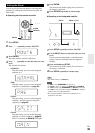
menu allows you to set the following items: NAME,
SHOW, HPLVL, ASb, ROUTE, and RESET.
Note
•When “ROUTE” is set to “MAIN”, the “NAME”, “SHOW”,
“HPLVL” and “ASb” settings are not available.
•When the “PHONO” input is selected, “NAME” setting is not
available.
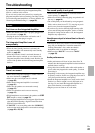
You can change the name of the currently selected input.
Choose a name from the following: CD, SACD, MD,
TAPE, TUNER, TV, GAME, PC, DOCK
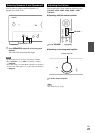
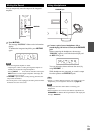
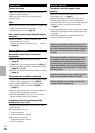
■ Operating with the remote controller
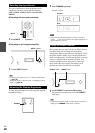
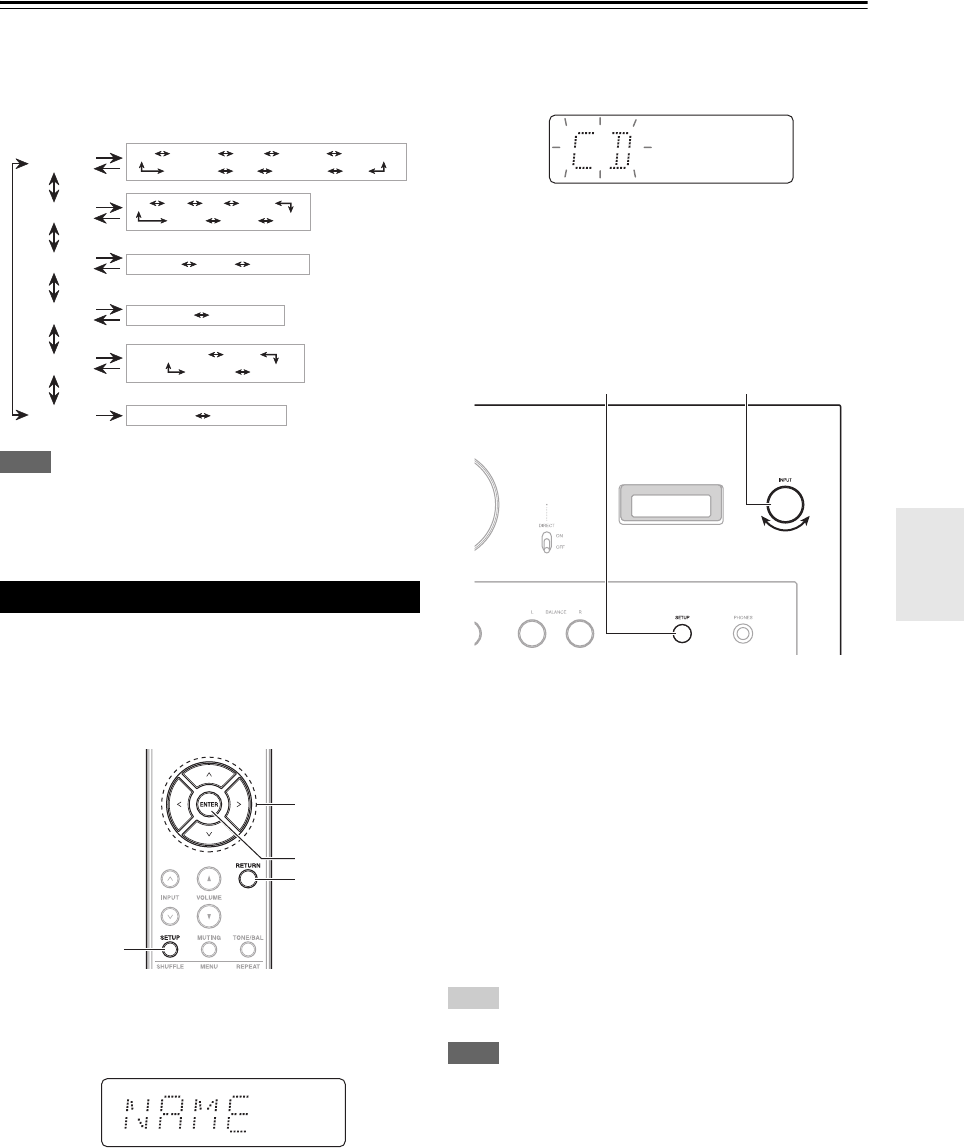
■ Operating on the integrated amplifier
Tip
• By default, input names are set according to the terminal names.
Note
• If you assign a name that is already used on another input, the
name of that other input will be restored to its default.
• When the “PHONO” input is selected, “NAME” setting is not
available.
• The integrated amplifier will end the setup if there is no
operation for 8 seconds.
Changing Input Names
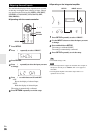
1
Press SETUP.
2
Press / repeatedly to select “NAME”.
3
Press ENTER.
The name currently assigned to the input flashes.
RST-NO RST-YES
NAME
SHOW
HPLVL
ASb
ROUTE
RESET
CD SACD MD TAPE TUNER
HP -12 HP 0 HP +12
ASb-ON ASb-OFF
DOCK PC GAME TV
PNO OPT CX2
MAIN SPLIT
NORMAL PRE
L1 L2 L3 CX1
SETUP
/ / /
ENTER
RETURN
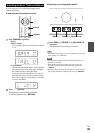
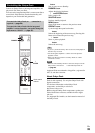
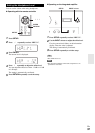
4
Press / repeatedly to select the name you want
to assign.
The selected name flashes.
5
Press ENTER.
The selected name flashes rapidly for a few times as
the setting is confirmed.
6
Press RETURN repeatedly to exit the setup.
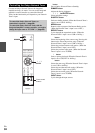
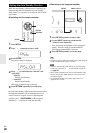
1
Press SETUP repeatedly to select “NAME”.
2
Use the INPUT selector to select the name you want
to assign.
First, the currently assigned name flashes on the
information display. Then, the assignable names are
displayed flashing.
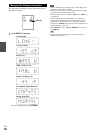
3
Press and hold down SETUP.
The selected name flashes rapidly for a few times as
the setting is confirmed.
4
Press SETUP repeatedly to exit the setup.
SETUP
INPUT selector


Find Your Products By Category
Please Login
