

0
Owner's of the Onkyo Stereo Amplifier Onkyo Stereo Amplifier gave it a score of 0 out of 5. Here's how the scores stacked up:
28
En
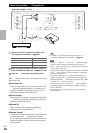
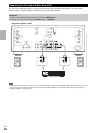
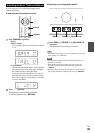
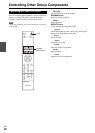
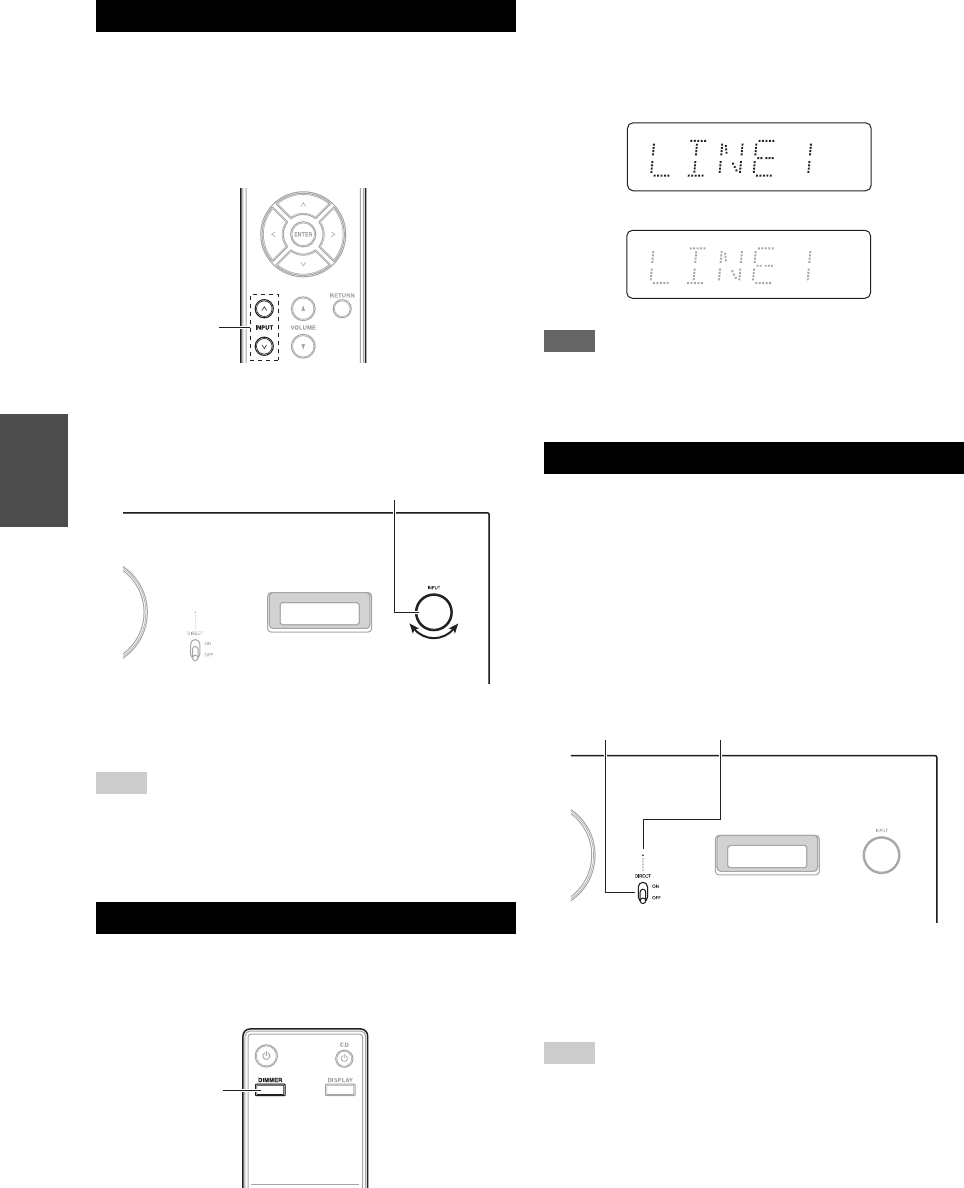
You can switch inputs to select the desired source
component. Choose an input from the following:
LINE1, LINE2, LINE3, COAX1, COAX2, OPT,
PHONO
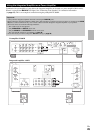
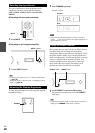
■ Operating with the remote controller
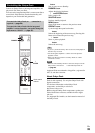
■ Operating on the integrated amplifier
Tip
• For changing the input’s name, see “Changing Input Names”
(➔ page 35).
• To hide the display of unused inputs, see “Skipping Unused
Inputs” (➔ page 36).
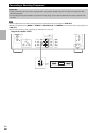
You can adjust the brightness of the integrated amplifier’s
information display.
Note
• When using the integrated amplifier’s remote controller to
operate -connected components, their display brightness can
only be adjusted in 2 levels.
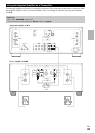
By bypassing the tone control circuit, the Direct function
uses the shortest path for enhanced sound quality.
Although this function generally turns the display off, the
integrated amplifier makes use of a display that doesn’t
affect the sound quality. It is therefore possible to turn the
display on while the Direct function is enabled. Also,
since the left/right balance setting uses a system that
doesn’t affect the sound quality, the balance can be
adjusted even if the Direct function is enabled.
Tip
• To turn the information display on while the Direct function is
enabled, press DIMMER on the remote controller.
Selecting the Input Source
1
Press INPUT / repeatedly.
1
Use the INPUT selector.
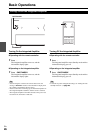
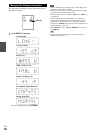
Adjusting the Display Brightness
INPUT /
INPUT selector
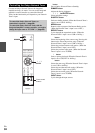
DIMMER
1
Press DIMMER repeatedly.
Normal
↔ Dim
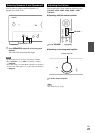
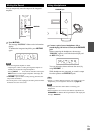
Using the Direct Function
1
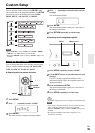
Set the DIRECT switch to the ON position.
The information display goes off and the DIRECT
LED lights.
Normal
Dim
DIRECT LEDDIRECT switch


Find Your Products By Category
Please Login
