
4.0
Owner's of the Onkyo Stereo Receiver AV RECEIVER gave it a score of 4.0 out of 5. Here's how the scores stacked up:
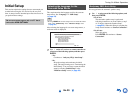
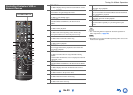
Turning On & Basic Operations
En-28
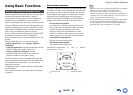
This section explains how to play music files on a
computer or media server through the AV receiver (Server
Playback).
Windows Media Player 11 Setup
This section explains how to configure Windows Media
Player 11 so that the AV receiver can play the music files
stored on your computer.
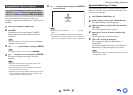
Playing Music Files on a Server
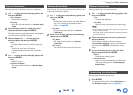
You need to connect the AV receiver to your home
network (➔ page 89). The on-screen menus appear
only on a TV that is connected to HDMI OUT MAIN.
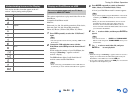
1
Start your computer or media server.
2
Press NET.
The network service screen appears. The NET
indicator lights. If it flashes, confirm the network
connection.
Tip
• The same operation can be done by selecting “Network
Service” in the Home menu.
3
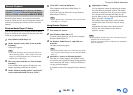
Use / / / to select “DLNA”, and press ENTER.
Tip
• To go back to the previous screen, press RETURN.
4
Use / to select a server, and then press ENTER.
The menu is displayed according to the server
functions.
Note
• The search function does not work with media servers
which do not support this function.
• Photos and movies stored on a media server cannot be
accessed from the AV receiver.
• Depending on the sharing settings in the media server, the
AV receiver may not able to access the content. See the
instruction manual of the media server.
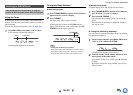
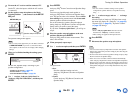
5
Use / to select an item, and then press ENTER or
to start playback.
Note
• Depending on the media server, / / may not
work.
• If the message “No Item.” appears, this means that no
information can be retrieved from the server. In this case,
check your server, network, and AV receiver connections.
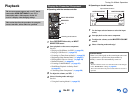
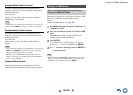
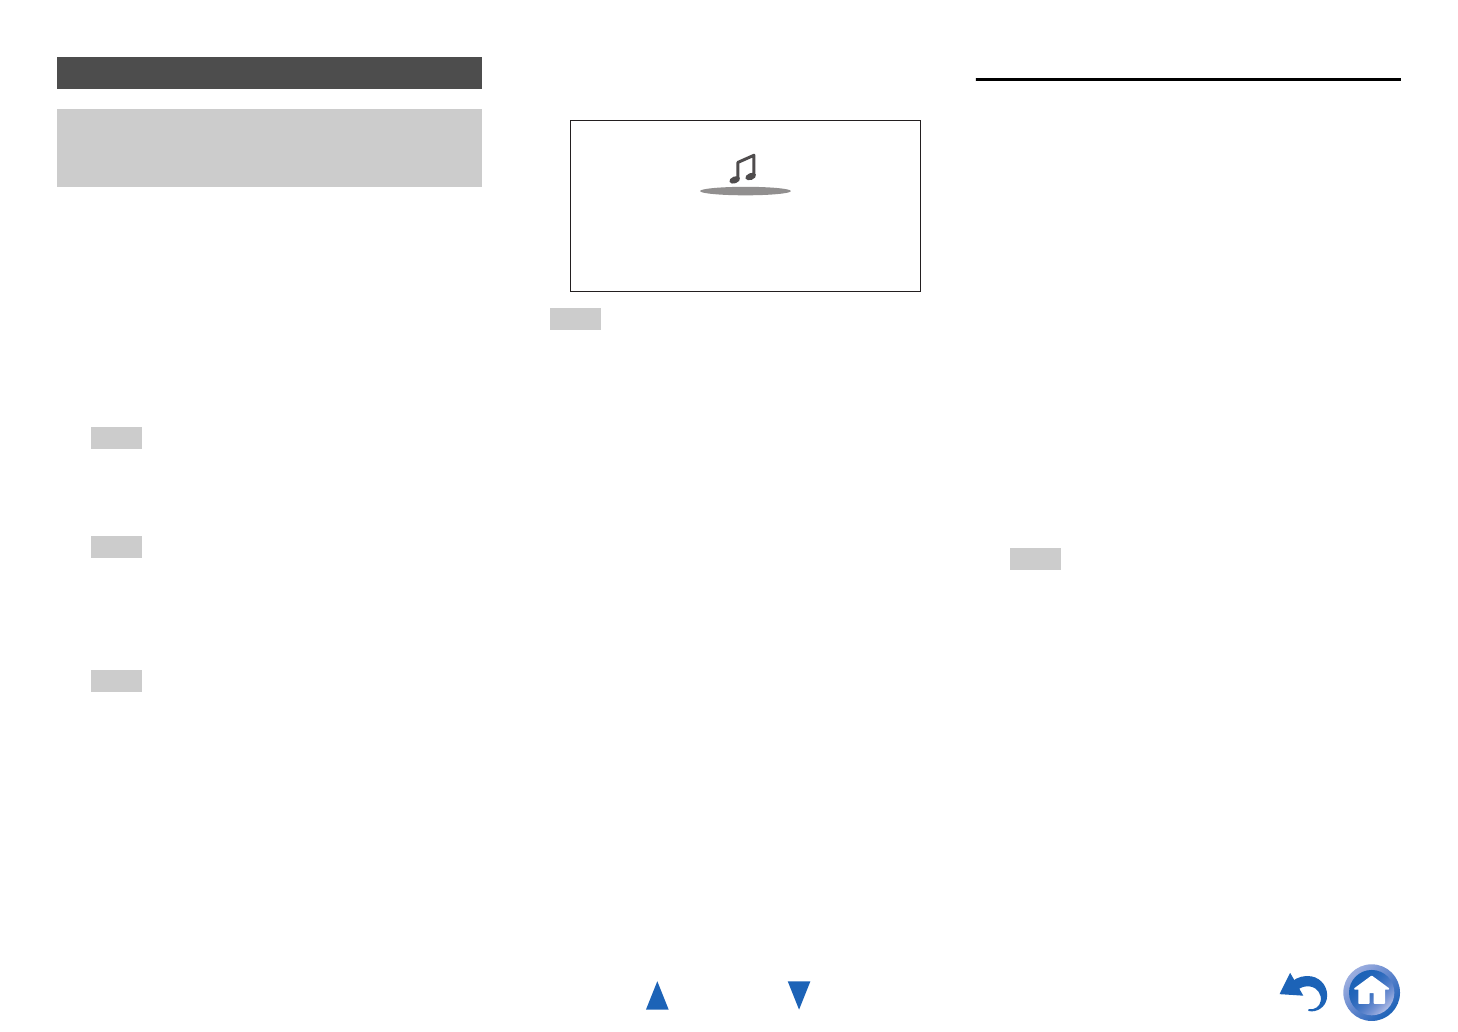
Artist name
My favorite song 1
My favorite album
0 : 11
1
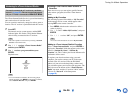
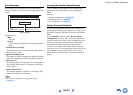
Start Windows Media Player 11.
2
On the “Library” menu, select “Media Sharing”.
The “Media Sharing” dialog box appears.
3
Select the “Share my media” check box, and then
click “OK”.
A list of the supported devices appears.
4
Select the AV receiver in the list, and then click
“Allow”.
The corresponding icon will be checked.
5
Click “OK” to close the dialog box.
This completes the Windows Media Player 11
configuration.
You can now play the music files in your Windows
Media Player 11 library through the AV receiver.
Tip
• Windows Media Player 11 can be downloaded for free from
the Microsoft web site.


Find Your Products By Category
Please Login
